GitHub Actions is a popular tool for automating software development workflows. With GitHub Actions, you can automate tasks like building, testing, and deploying your code, making it easier to maintain and improve your software. One of the powerful features of GitHub Actions is the ability to create your own custom workflows, which can help you automate your development process even further.
In this article, we will look at how you can create your own GitHub Actions workflow templates. A workflow template is a reusable set of actions that you can use across different projects, making it easier to standardize your development process and save time.
[Read: 7 GitHub Actions Tips To Boost Productivity]
Getting Started With GitHub Actions
Before we dive into creating custom workflow templates, let's briefly go over some of the basics of GitHub Actions. GitHub Actions uses YAML files to define workflows. A workflow is a set of one or more jobs that can be run in parallel or sequentially. Each job consists of a set of steps, which are individual tasks that can be executed within the job.
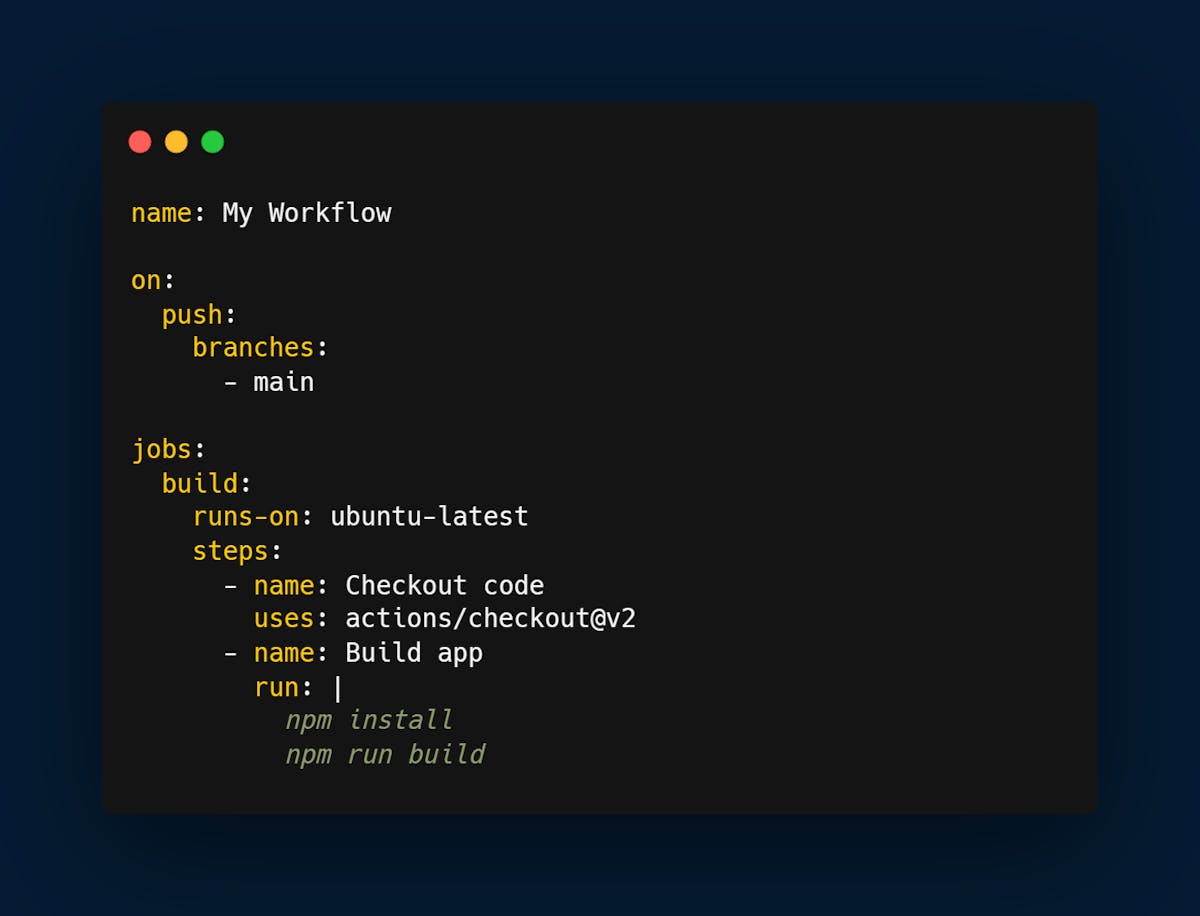
Here's an example of a simple GitHub Actions workflow:
This workflow is triggered when the code is pushed to the main branch of the repository. It consists of a single job called "build" that runs on an Ubuntu environment. The job has two steps: checking out the code from the repository and building the app using npm.
Creating a Workflow Template
To create a workflow template, you can start by creating a new YAML file in your repository's .github/workflows directory. You can name the file whatever you like, but it's a good idea to give it a descriptive name that reflects what the workflow does.
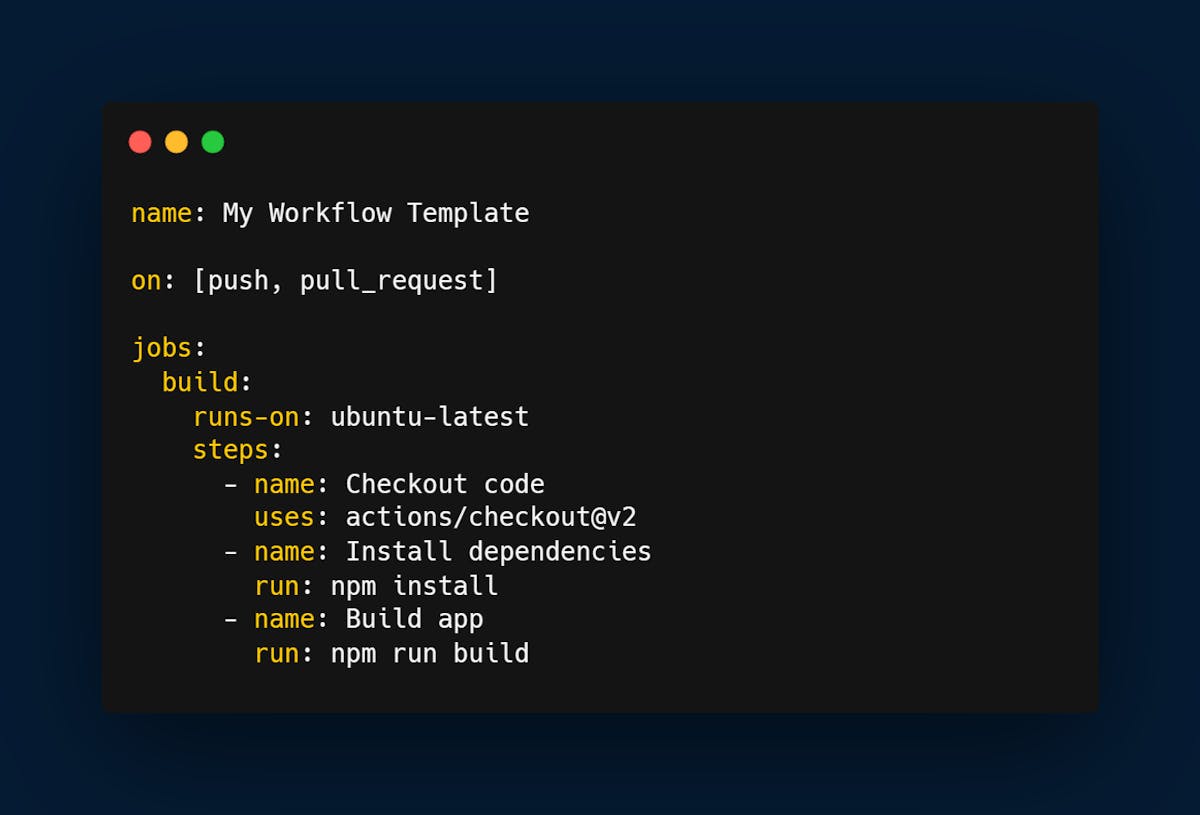
Here's an example of a simple workflow template:
This workflow template is similar to the previous example, but it has a few key differences. First, it has a more generic name that reflects the fact that it is intended to be used as a template. Second, it uses the "on" keyword to specify that the workflow should be triggered by both push and pull_request events. Finally, it includes an additional step to install dependencies before building the app.
Using a Workflow Template
Once you've created a workflow template, you can use it in your repository by referencing it in a new YAML file in the .github/workflows directory. To do this, you can use the "extends" keyword, followed by the path to the workflow template file.
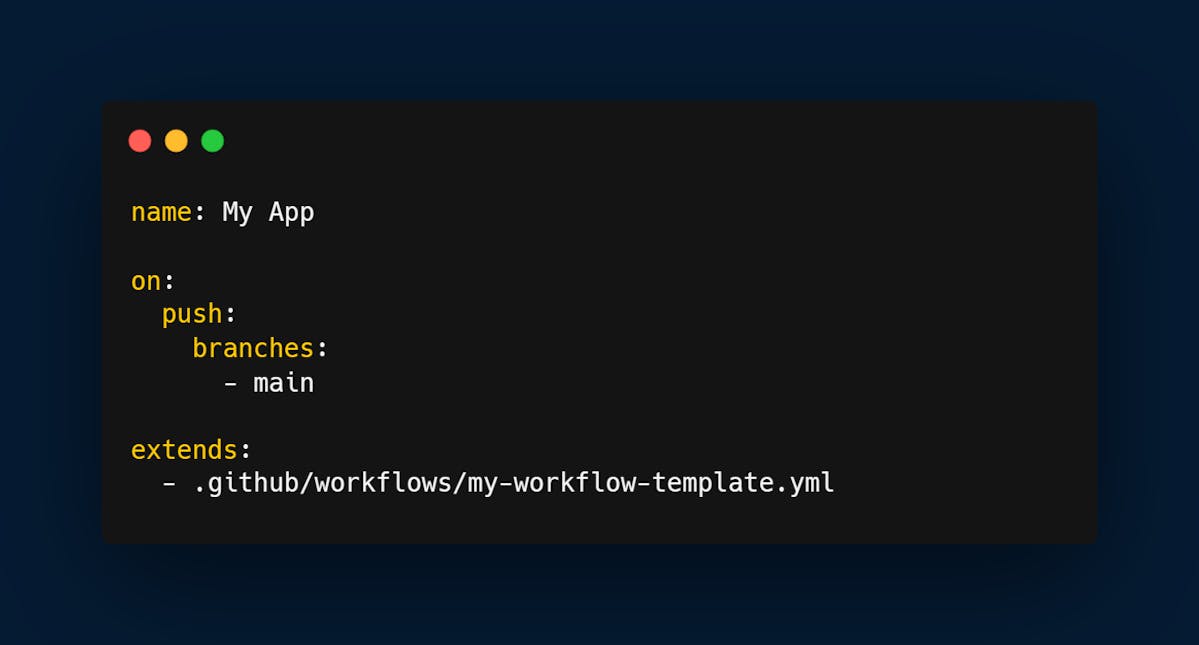
Here's an example of how to use the workflow template we created earlier:
This YAML file defines a new workflow called "My App" that is triggered by pushes to the main branch of the repository. It extends the "My Workflow Template" workflow template by including the path to the template file.
When you push code to your repository, GitHub Actions will automatically run the "My App" workflow, which in turn runs the "My Workflow Template" workflow template. This allows you to reuse the same set of steps across multiple projects, making it easier to maintain a consistent development process.
Customizing a Workflow Template
One of the advantages of using workflow templates is that they can be easily customized for different projects. For example, you might want to include additional steps or modify existing steps to suit the needs of a particular project.
To customize a workflow template, you can simply create a new YAML file in the .github/workflows directory and override the steps or parameters that you want to change. When GitHub Actions runs the workflow, it will use the steps and parameters defined in the new file instead of the ones in the template.
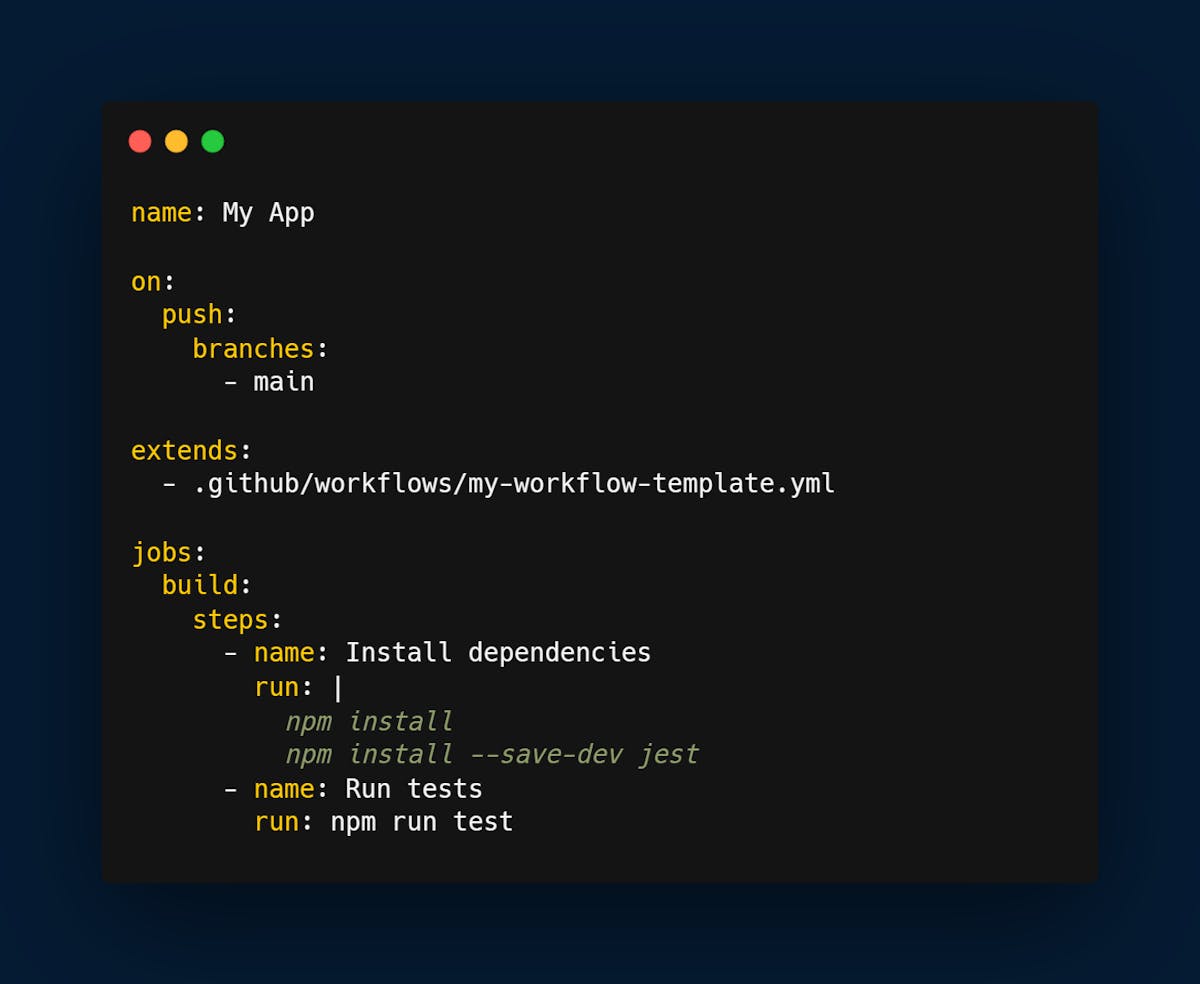
Here's an example of how to customize the "My Workflow Template" workflow template:
This YAML file extends the "My Workflow Template" workflow template and adds a new job called "build" that includes two additional steps. The first step installs the Jest testing library as a development dependency, and the second step runs the tests using npm.
When you push code to your repository, GitHub Actions will run the "My App" workflow, which extends the "My Workflow Template" workflow template but overrides the "build" job with the custom steps defined in the new YAML file.
Automate with Custom GitHub Actions Templates
GitHub Actions provides a powerful tool for automating software development workflows. By creating your own workflow templates, you can standardize your development process and save time by reusing common sets of actions across multiple projects.
To create a workflow template, start by creating a new YAML file in your repository .github/workflows directory. Define the steps that you want to include in the template, and use the "on'' keyword to specify when the workflow should be triggered.
To use a workflow template, create a new YAML file in the .github/workflows directory and use the "extends" keyword to reference the template file. You can then customize the template by adding or modifying steps in the new YAML file.
By following these steps, you can create your own custom workflow templates that automate your development process and save time.
Subscribe to the Hatica blog today to read more about unblocking developers, and boosting productivity with engineering analytics.


