Tools2023-02-06

5 Ways to Spice Up Your Readme Pages

Improve Your README Game! 5 powerful tips for creating an engaging and user-friendly project guide for developers and contributors.
5 Ways to Spice Up Your Readme Pages

The README file is an integral component of any open source project, acting as a guide for users, developers, and contributors. It provides all the necessary information for understanding and utilizing the project, however, due to the complexity of large projects, it can be challenging to make it accessible and simple to follow.

To make your project stand out, you need to have an attractive and well-crafted README. In this article, we will explore five powerful ways to elevate your README, making it more engaging and user-friendly, and enhancing your project's visibility. 

One of the most popular platforms for version control is GitHub, with over 73 million users. GitHub has become an essential tool for the software development process, offering features such as version control, issue tracking, and Git Analytics- a tool to improve your code health and make it more efficient. 

What is a README File?

A project's README.md file should be stored in the root of the folder. The project's homepage will display the content inside the README.md when someone views it in a tool like GitHub. A great project README.md should explain what the project is about, how to install it, the coding standards followed on the project, how to run the tests and any dependencies or notes the reader should be aware of.

5 Powerful Ways to Spice Up Your README Pages

Maintain The Flow

Maintaining a good flow in your README file is essential for making it easy for users to understand and use your project. A well-organized README with clear headings and sections will help users quickly find the information they need, making it more likely that they will continue to use your project. 

One way to maintain a good flow in your README is to start with a brief overview of the project, including its purpose and goals. This will help users understand what the project is trying to accomplish and how it can benefit them. Next, include detailed instructions on how to install and use the project. These should be clear and easy to follow, with screenshots or GIFs to help users visualize the process. 

Another important aspect to include in your README is a clear and detailed explanation of how to use your project once it is installed. This should include examples of how to use your project, as well as any relevant code snippets. This will help users understand how the project works, and how they can use it.

Use Clear and Consistent Format

Using formatting elements such as headings and bullet points to improve the readability of your README can greatly improve its effectiveness. Breaking up the text into sections and using headings, you can help users to find the information they need quickly and easily. Additionally, by using bullet points, you can make the text more concise and easier to read.

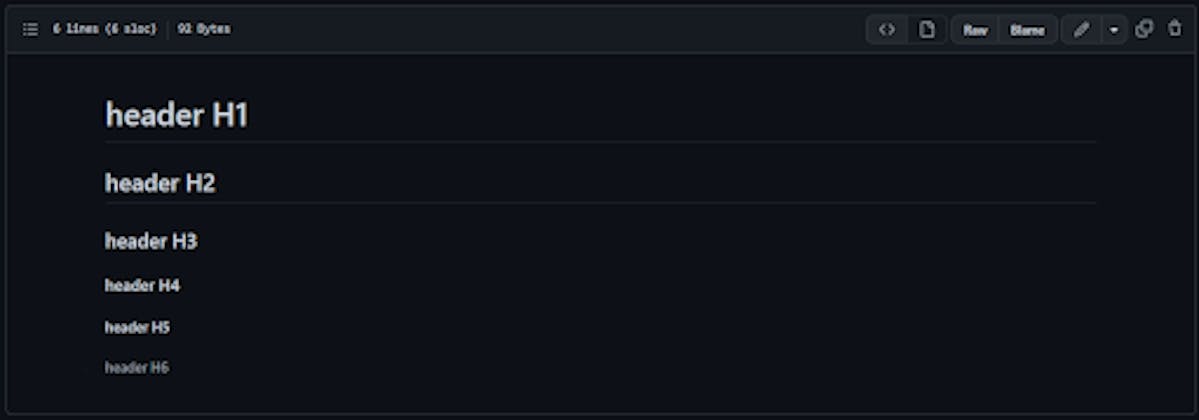
A README.txt or README.me file should be written in markdown syntax. Using Markdown, you can format plain text into HTML. The example below illustrates this.

# header H1 
## header H2
### header H3
#### header H4
##### header H5
###### header H6
formatting in readme pages

Maintain a Neat Table of Content

Table of Contents is an essential component of a README file for projects. It serves as a roadmap for users, providing them with a clear and organized overview of the project's structure, contents, and key features. It  is particularly useful for large projects with numerous files, directories, and sections. Without a TOC, it can be challenging for users to navigate through the project and locate the information they need.

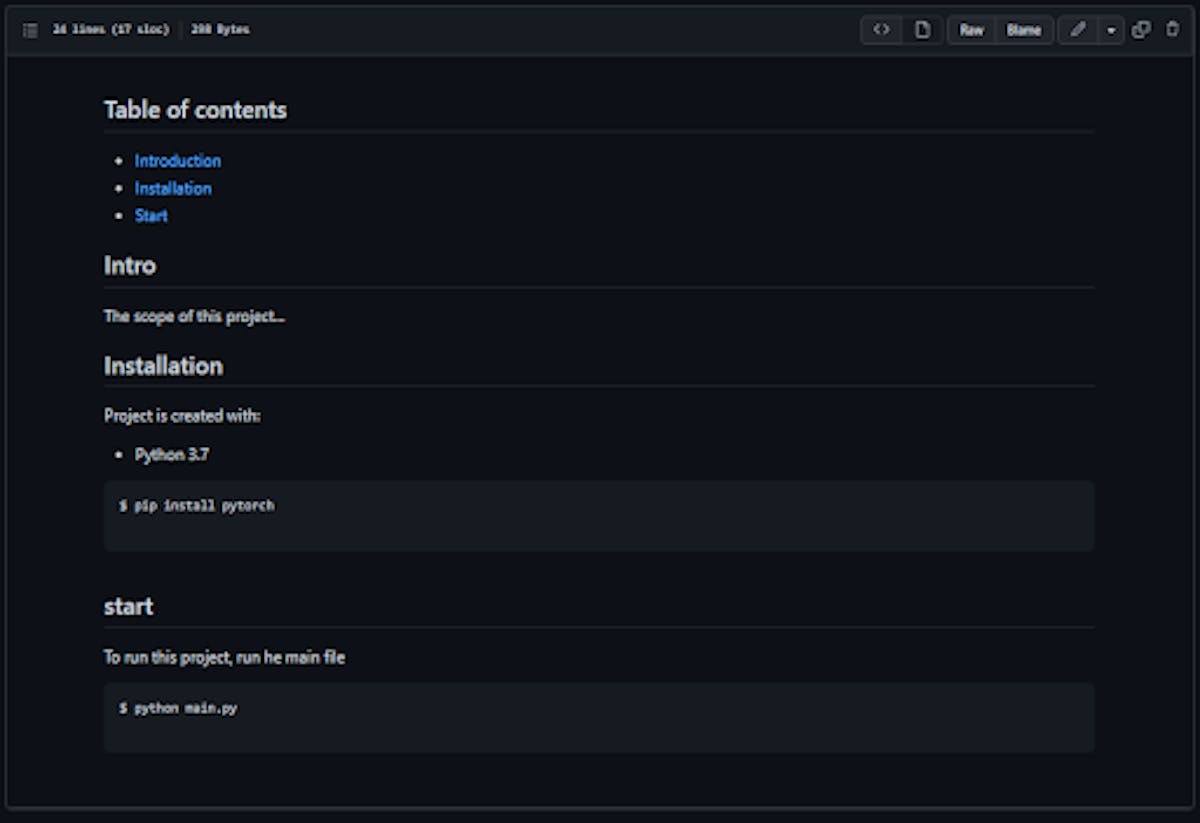
In the GitHub file editor, replace the README.md file content with the following code:

## Table of contents
* [Introduction](#Intro)
* [Installation](#Installation)
* [Start](#start)

## Intro
The scope of this project...

## Installation
Project is created with:
* Python 3.7

```
$ pip install pytorch

```

## start
To run this project, run he main file

```
$ python main.py

```
table of content in readme files

Note: GitHub converts the README Markdown to HTML for rendering. After conversion, the HTML is sanitized, and for security reasons, it ignores certain HTML tags and attributes such as <script>, <style>, style etc. 

Don’t Forget to Add Images and GIFs

Images and gifs are an excellent way to make your README more engaging and easier to understand. They can be used to demonstrate how the project works, provide examples of its features, or show the app or project in action. By using images and gifs, you can break up text and make the page more visually appealing, which can help to hold the reader's attention and make the information easier to digest. 

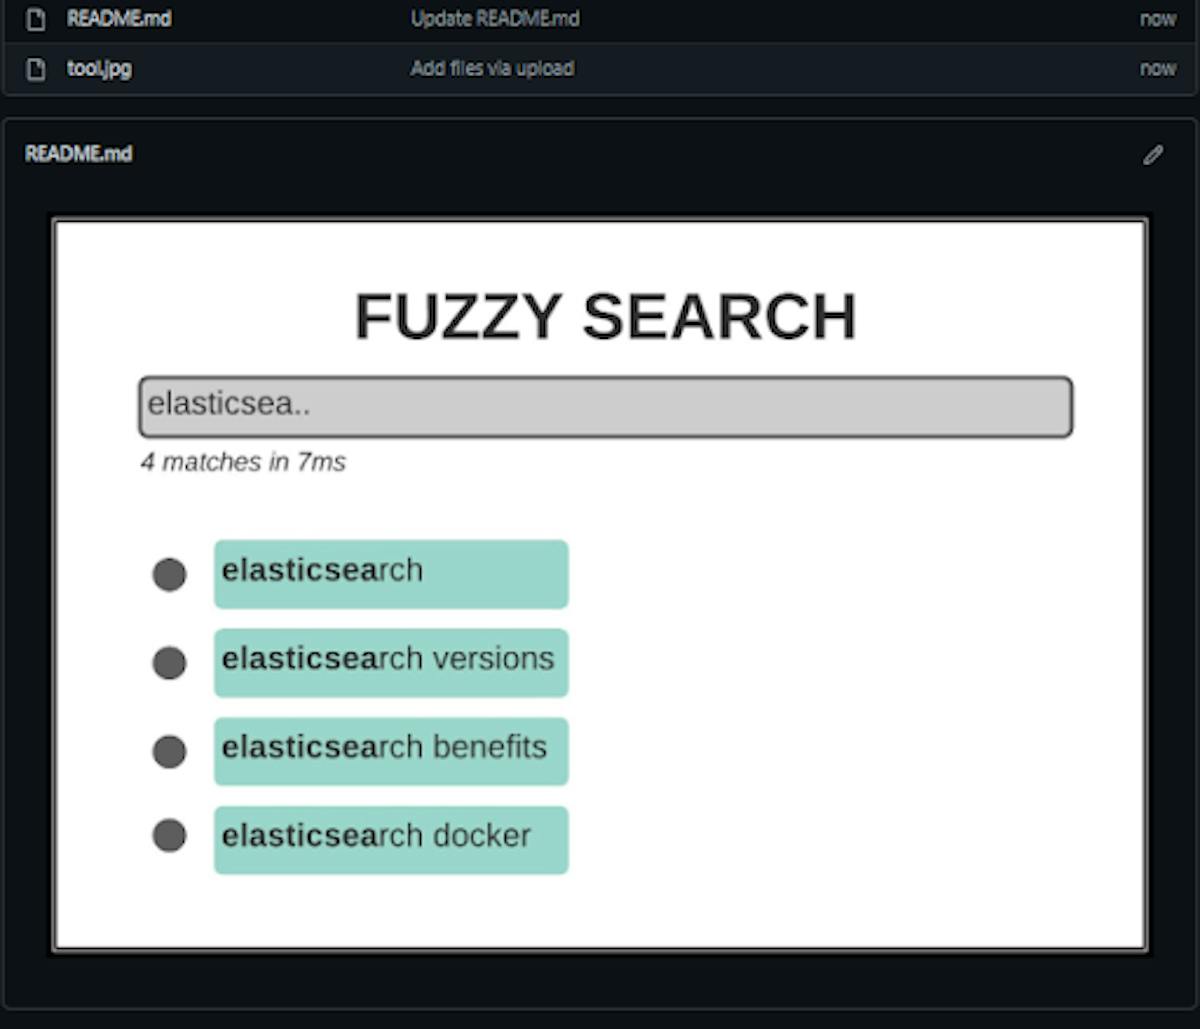
To include an image in your README file, you must first upload the image to your repository. In this example, we have used 'tool.jpg' located in the root of the repository. In your README file, add a line '![image](path to your image)' to reference the image.

![image](./tool.jpg)
Readme files images

Create Badges For Your README 

Although badges are not necessary, they can be extremely useful and improve the overall quality of your README. If you are looking for some inspiration or want to create your own badges you can go to shields.io.

Here is a short guide on how to create your own badges on Shields.io: 

  • Go to the Shields.io website and click on the "Create a Badge" button. 
  • Select the type of badge you want to create. There are several different types of badges available, such as version badges, download badges, and build badges. 
  • Configure your badge by entering the information that you want to display. For example, if you are creating a version badge, you will need to enter the current version of your project. Customize the appearance of your badge by choosing a color scheme and a label. You can also add a logo or an icon to your badge. 
  • Once you are satisfied with your badge, click on the "Generate Badge" button to generate the code for your badge

We’ll use the https://img.shields.io/badge/ URL and pass additional parameters to this URL to get the respective social badges.

![](https://img.shields.io/badge/Code-React-informational?style=plastic&logo=appveyor)
Badges For README 

For more insights on best practices when setting up your project's README on GitHub, you can refer to our article on GitHub Readme Best Practices.

Conclusion

In conclusion, a README fileis a vital component of any open-source project, and by using these five powerful ways to elevate your README, you can make your project stand out and enhance its visibility. By using images and gifs, providing clear and detailed instructions, adding a video demo or tutorial, using headings, bullet points, and other formatting, and including screenshots of the app or project in action, you can make your README more engaging, user-friendly, and effective.

Profile READMEs function similarly to project READMEs, except that instead of being the first page on a repository, they are featured on your Github Profile. The only thing you need to do to create a Profile README is to create a repository with the same name as your GitHub username and edit the README.md file within it. Here is a list of some great Profile READMEs.

However, simply optimizing READMEs sometimes might not be enough to get the best out of your project space, an engineering analytics tool can equip you with the data-driven insights you need to place your team on top. Hatica offers metrics across 13 dashboards, powered by CI/CD tools, Jira and GitHub. By collating tool activities at one place,Hatica helps teams streamline their workflow and improve productivity. Request a demo with Hatica today!

Subscribe to Hatica's blog

Get bi-weekly insights straight to your inbox

Share this article:
Table of Contents
  • What is a README File?
  • 5 Powerful Ways to Spice Up Your README Pages
  • Maintain The Flow
  • Use Clear and Consistent Format
  • Maintain a Neat Table of Content
  • Don’t Forget to Add Images and GIFs
  • Create Badges For Your README 
  • Conclusion

Ready to dive in? Start your free trial today

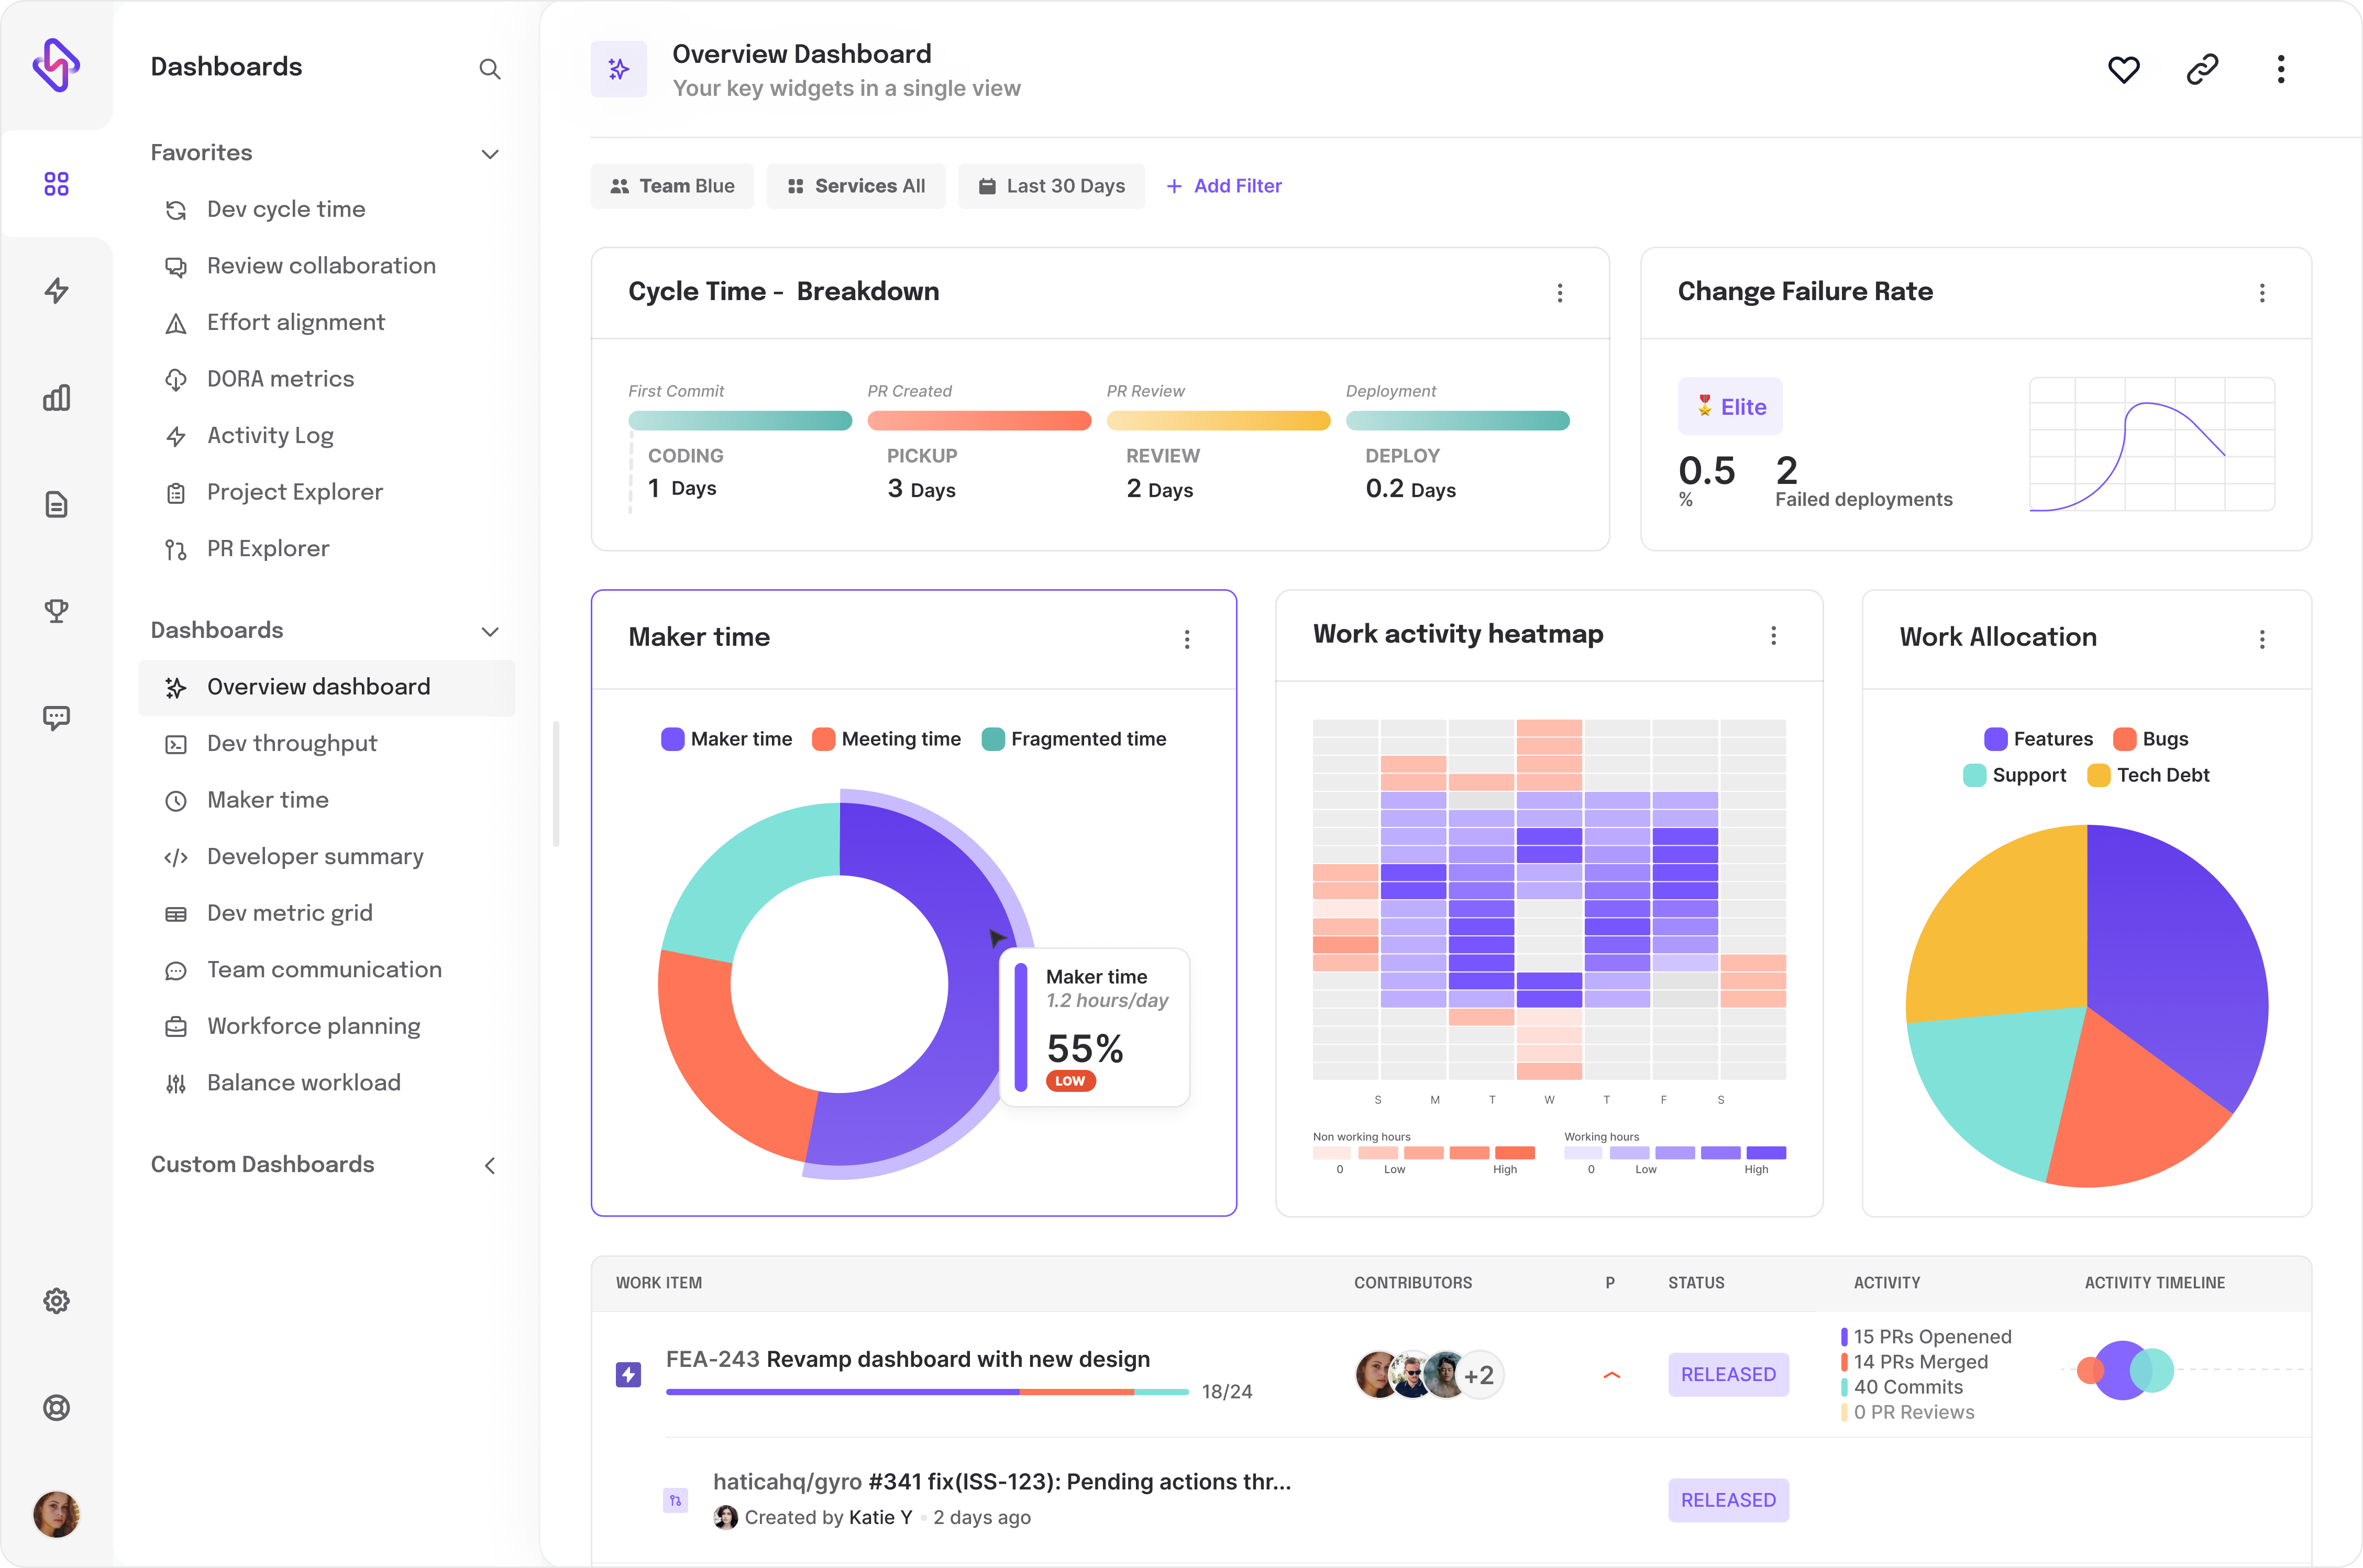
Overview dashboard from Hatica